

In this custom level created with the Portal 2 Workshop, complete the 3 small rooms by using the cubes sliding down the sloped light bridge.
Genre: Puzzle Game.
Engine: Portal 2 Workshop
Team size: 1
Duration: 1 week
Date: june 2026




Context
The goal of this exercise was to create a complete level in Portal 2 using its Workshop editor. I wanted to create a 3 step puzzle, with a smooth learning progression with always the same core mechanic.


My roles
I was the sole Level Designer on this level, handling everything from the brainstorming to the final publication on Steam. This project allowed me to focus heavily on Puzzle Design, using several different design methods.
Level Design
Overview


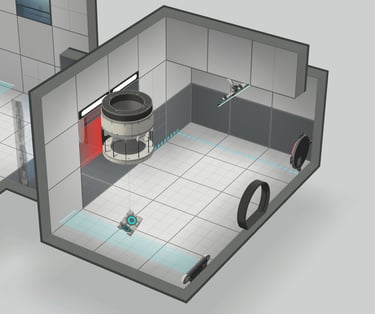
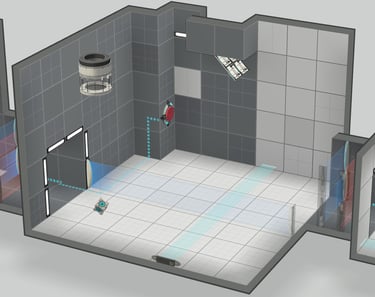
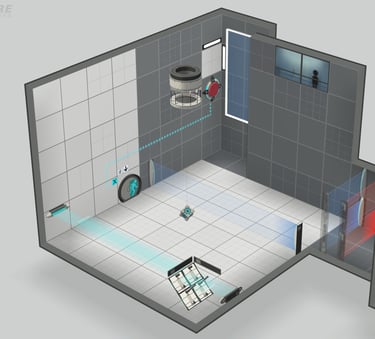

Level Flowchart
1) Tutorial Room
2) Development Room
3) Twist Room
Puzzle Design

For my level, I wanted to show a new system that had not been used in the Portal 2 campaign.
I combined 3 mechanics: Light Bridge, Button, and Cube. The idea was to create a slanted Light Bridge allowing the cube to slide onto the button and open the door.
For each new room, I made the mechanics more complex by adding new variables.

Level Mechanics:

Puzzle Design Method:
For each puzzle room, I wanted to follow this structure:
1) Objective: The player must create a sloped bridge to make the cube slide onto the button and open the door.
2) Exploration: The player tinkers with mechanics to understand how they work and discover the different possibilities.
3) Obstacle: The player thinks they have found the solution, but encounters an obstacle that makes their solution ineffective.
4) Reflection: The player must reconsider the mechanics and think of alternative solutions that can overcome the obstacle.
5) Resolution: The player finds the correct solution and is rewarded by progressing further into the level.
Kishōtenketsu Method:

For the progression of the level, I was inspired by the Japanese Kishōtenketsu structure.
1) First, I introduce the level's core mechanics in the Tutorial Room (Ki).
2) Then, I develop the same mechanic with more challenging and deeper thinking in the Development Room (Shō).
3) Finally, I twist the mechanic by introducing a new and different problem, marking the conclusion in the Twist Room (Ten + Ketsu).
This method allowed me to create a good difficulty curve throughout the level, making the puzzles progressively more interesting and engaging.
Level Resolution

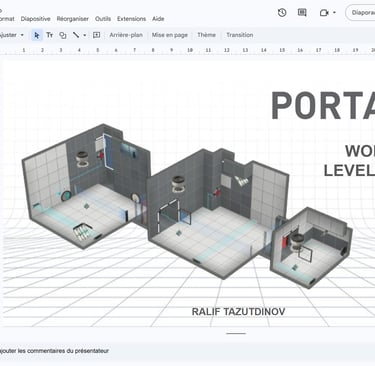
You can see the complete step-by-step level resolution in this document.

Level Design Techniques


Show Important Elements:
For a better player experience and clearer guidance, I needed to highlight the important elements for solving the puzzle while removing unnecessary noises.
Through playtests, I noticed that players were not noticing the spot where they needed to place the portal, which was essential to solving the puzzle. I therefore made the entire wall black, leaving the important tile white, which made the solution much easier to identify.


Clear Objectives:
I wanted to make sure that as soon as the player enters a room, they can immediately see and understand the objective and the key elements. However, some secondary elements are hidden and require exploration.
1) The exit door that needs to be opened.
2) The button that opens the door.
3) The origin point of the Light Bridge.
4) The box that needs to press the button.
5) Hidden elements that are important for solving the puzzle.
Foreshadowing Solution:


Development Room
Twist Room
To maintain a consistent learning and progression curve for the player, I reused the same action that contributes to solving the puzzle in both the Development Room and the Twist Room. The action consists of recreating a portal to make the box fall onto the Light Bridge slope.
This foreshadowing in the Development Room allows the player to understand what they need to do in the Twist Room.
Walkthrough